Showing posts with label microplastics. Show all posts

Thursday, August 3, 2017

I am going micro this summer!


2017 Woods Hole Oceanographic Institution Visit

During my summer I always visit a small island off the coast of Massachusetts. It is called Martha's Vineyard. On Martha's Vineyard I write a blog about nature and science. One of the many adventures that I am going to write about this summer is visiting Woods Hole Oceanographic Institution (WHOI). At WHOI I met up with some researchers and scientists who were studying chemicals in the ocean. I am also going to be working with them on a project this summer.  

The head of the group, Anna Michel showed me the Deep Submergence Laboratory.  To learn more about Anna and her work click here I got to learn about many of the different devices that they built and use to complete their research.  They built a device called a Deep Sea Laser Spectrometer, which is a high tech device that is mounted on a remotely operated underwater vehicle (ROV). The Deep Sea Laser Spectrometer collects and measures gases from the salt water.


Another instrument in the lab that can be used for analysis is a Fourier Transform Infrared Spectrometer (FTIR).  The laser inside sends out a lot of light, gases absorbs light, the light hits the mirror, and shoots the remaining light back to the detector.  Different chemicals absorb different wavelengths, so they can use this process to determine which gasses are present.  


In the lab, they also had a gun shaped device (XRF) that analyzes the oil patties and identifies what type of oil it is. The specific oil patties they were measuring were from the 2010 BP oil spill in the Gulf of Mexico. There's a picture of the device below.


After seeing all of the other devices and machines in the lab, we met a lady named Victoria who was programing the “brains” for the Jetyak an autonomous vehicle.  She previously built a ROV that mimicked the movement of a turtle.  I was excited because Amanda and I explored biomimicry a few summers ago.  Check out previous post by clicking here. Then I met a guy named Luka who was a computer designer that was designing and 3D printing parts for an autonomous Jetyak.  

We then met up with a teacher named Stacey Strong. She is completing her research experience for teachers fellowship at WHOI this summer.  To learn more about Stacey Strong’s work as a teacher visit the Facebook page Sturgis ROVers.  She collected a container of sand at Surf Beach and my job was to sort through it with a three-section sieve I made and try to find microplastics. My job over the summer will be to visit different beaches around Martha's Vineyard looking for microplastics in the water and sand that could harm nature.  After I collect the samples, I will bring them back to the scientists for them to analyze and figure out the types of plastics we found using a laser.  


After we finished sorting through the sand, we went to a presentation where all of the scientists, engineers, programmers, and physicists shared what projects they were working on. I thought it was really interesting to hear what each person was doing. I really enjoyed visiting WHOI and can't wait to come back and show the scientists my microplastic samples! 


DIY Sieves & Net and Supply List

When we arrived on the island our first project was to build three sieves with different size mesh to create fractionated samples and to build a plankton net.  The scientist at WHOI sent us these guides to help us build them.  You can click on the links below to find the directions.  

Build a Plankton Net 
Make Your Own Plankton Sieves


DIY Sieves Supply Tip
The first thing we needed to do was buy the supplies.  Most of the supplies you can easily purchase at a hardware store.    
Here are links to the nylon or nitex cloth we ordered on Amazon.


Design Issues with Homemade sieves
While these guides were great, we ran into a few design issues. When we visited WHOI, Stacey Strong made her sieves out of PVC and PVC couplings with a larger diameter.  We think this might be a better option.


Over the course of the project, we noticed problems with the following steps:
Step 1. When you cut your PVC pipes make sure that there is no plastic debris on the edges to ensure you do not contaminate your samples. You should clean and sand the edges to prevent this from happening.
Step 3. Glue - Silicone is not sufficient in securing the mesh to the PVC. Using a plastic welder (a type of glue not a flame) to secure the mesh to the PVC works better.
Step 5. The directions worked for our 0.3 nylon but the 5 mm and 1 mm nylon were too thick. We are wondering if you purchase more expensive nylon mesh from a science store, if this would not be an issue. Our solution was to cut the mesh so it fit seamlessly with the inside of the PVC and place it on the lip of the PVC coupling. Then use the plastic welder to completely seal the edges.


Plankton Net
So far our net made out of pantyhose is working great, but we are a little worried about the durability.  I want to tow the net behind my kayak while we are on different adventures, and I am not sure it is going to hold up.  We are going to make another net using an oval nut milk bag. We ordered this nut milk bag on Amazon.  


Additional Supplies

Containers for collecting sand
Ziploc bags: gallon and sandwich
Journal
Phone for taking pictures
GPS App for phone
Permanent markers
Tweezers
Access to a hose
Salt


We purchase the sand sieves because they have metal mesh. Our sieves were purchased from McMaster-Carr


Screenshot 2017-07-25 15.47.02.png


You may also want a brush for cleaning the sand sieves.  We are currently using a toothbrush, but it is not working as well as we would like.  

Additional Supplies for Studying Plankton
Microscope or the IPhone 7+ has dual camera that can magnify micro-organisms
Petri Dish
Blank Microscope slides
Eye dropper
Squirt Bottle
Organization


Organizing and cleaning are an important part of this project.  We are still working on figuring this out.  Right now, we are using Ziploc bags to store and separate our supplies.  We are wondering if a backpack with some small drybags would work better.  You should label items right away and document with photos.  Each day when you are finished clean your sieves and reorganize supplies.  


Grey's Outdoor Lab

To learn more about how microplastics are studied click here.


Have fun going micro!


Techniques for Sifting Wet Sand

As we have been completing this project, we have run into some problems. One of the problems was that when we put moist or wet sand in the sieves, the sand would clump together and stay at the top of the sieves. Amanda and I have come up with 2 solutions to help solve this problem.  

The first solution we tried to solve this problem was to use the the force of the wave as they pull back into the ocean to pull sand through through the PVC pipe sieves. To successfully do this technique, you have to hold the sieve down to the sand as the water pulls out and pull it up after the water has resided and a new wave is incoming.  Sometimes the sand is still in the sieves so you have to repeat the process to have the best outcome. See the video below for a demonstration.


Another technique we have tried to solve this problem is to collect the sand and bring it back to the house where we have access to a hose.  Once you have collected the sand in a reinforced large ziploc bag or container you need access to a hose.  Next you will need your sieves.  After you have the sieves stacked from 5mm-1mm-0.3mm or largest to smallest, you start putting handful size amounts of sand into the sieve and washing the sand through the sieve using the hose until all of the sand has been washed through.


We are still unable to sift sand through the 0.3 sieve because the sand size is bigger than 0.3.


Have fun going micro!

Rainy Day Research Adventure


While completing our microplastics research project, Amanda and I had some crazy adventures.  One cold rainy day, we decided that it would be a good day to collect samples of sand because we would likely be the only ones at the beaches we visit. We decided to collect one gallon plastic bags full of sand from different beaches around Martha's Vineyard.  We made it to four beaches up-island.  My job was to run down to the beach, collect gallon bags of sand (while getting hit by waves), take pictures, and mark the GPS location. It was pouring rain almost the entire time. It was raining so hard, that Amanda decided that she better “take notes” at two of the beaches, while I fetch the sand.
The first beach we stopped at was Moshup Beach, otherwise known as GayHead. As soon as I walked out of the car it started to POURING rain, but I got the job done.
Moshup Beach

The next beach we visited was Lobsterville Public Beach. At Lobsterville, the sand was a orange color.  
Lobsterville Public Beach 

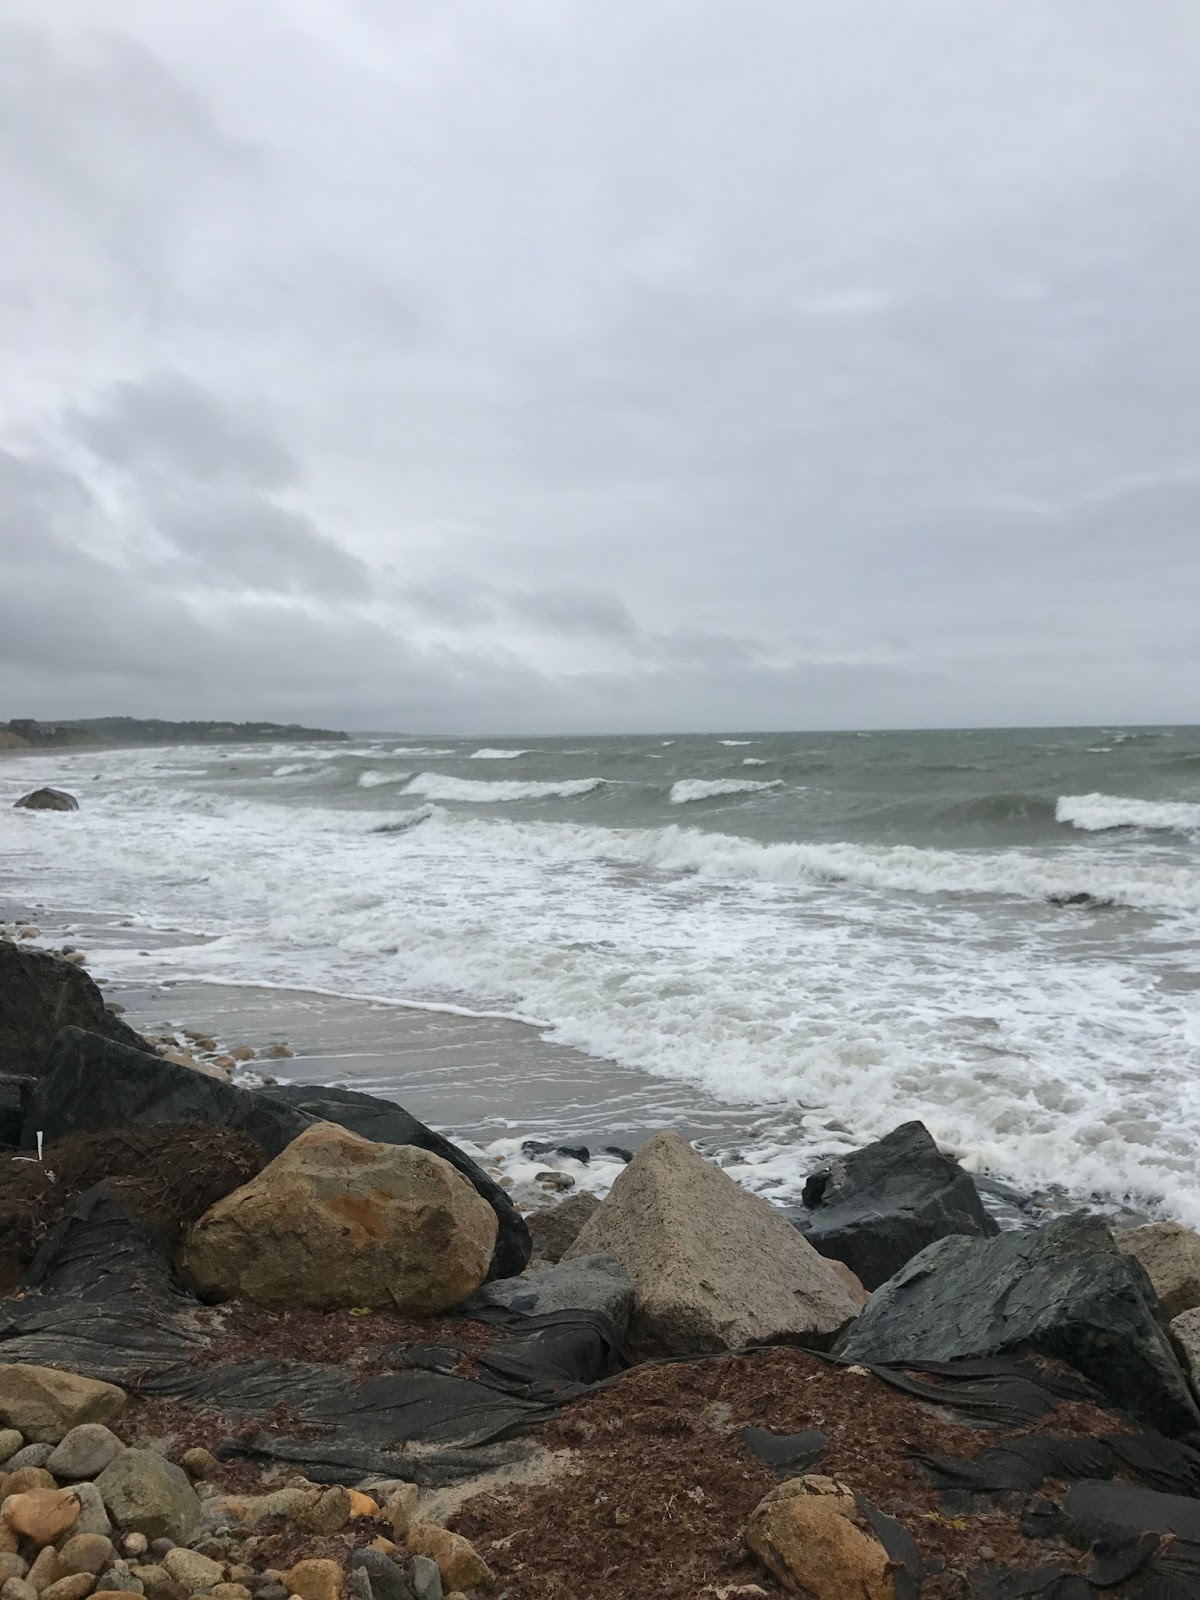
We went to the next beach, Squibnocket.  Squibnocket was really windy and stormy.  
Squibnocket
Then we went to the last beach, Lucy Vincent.  We had to ask permission if we could go in for free, in the name of science.  
Lucy Vincent
When we sifted through our samples, we only found 3 plastics under 5 mm.  We are wondering if you can find more plastics when it's low tide due to the tide receding and leaving a seaweed line where we have observed plastics mixed up with.  If we had more time, we would go back to these beaches during low tide to see if our result changed.

Both Amanda and I had fun on our rainy day adventure.  #science #nature #Martha'sVineyard

Buoyancy Technique

When we were at WHOI I came up with the idea of using water to see if the plastics would float.  I then learned from them that if i added a substantial amount of salt to the water, it would increase the buoyancy of the plastic.
To make sure my floating technique worked, we put it to the test. First we added 6 cups of water and tested the >5 mm and <5 mm- >1 mm size plastics.
The >5 mm plastics floated with no problem.  
> 5 mm
Sample SW5.1
One sample of < 5 mm - >1 mm plastics floated right away.  
< 5 mm- >1 mm
Sample SW1
However, the second <5 mm - >1 mm sample sunk.  
Sample MB1
We are not positive this sample is plastic.  We decided to put it to the test, so we added ½ cup of salt to the water. The two pieces of plastic started to hover slightly above the bottom of the container, but they didn't float to the top. We then added another ½ cup of salt to the water and the plastics rose a little more.  The coarse salt wasn't really dissolving so we decided to leave it overnight to see what happened. When we looked at it the next day, the plastics were at the top of the water!  
Floating sample
With further testing, this might prove to be a helpful strategy to use when looking for micro-plastics.

Drying Sand

We struggled to sift the sand through our 0.3 mm sieve.  We decided to try a technique that was suggested by my technology and science teacher.  It involved drying sand under >1 mm in the sun, to make it easier to sift through the 0.3 mm sieve.  We were able to dry the sand in the sun. There was a really big improvement and it did work, but we still struggled to sift most of the sand through the sieve leaving us with too large of a sample size to locate micro-plastics easily.  We are wondering if the buoyancy technique would allow someone to find the plastics in the remaining sand sample.  To learn more about the buoyancy technique click here.  


Can Grey find the hidden plastics?

In this video Amanda explains how she collected a sand sample from Stonewall Beach that contained 5 plastics.  I have to try and find all five plastics she saw in the sample she took.


Check out this video to see if I was able to find them using the hose technique.  


If you would like to see my results click here and then look at sample name SW4.

I also mentioned using a buoyancy technique to find plastics using water and salt.  To learn about this technique click here. You click here to find out how drying the sand affected our ability to sift the remaining sand < 1 mm.

Results


Overall, I loved doing this project and I grateful for this amazing opportunity.  I will never forget this project, and I hope my experiences will help Stacey Strong's students.
I collected samples on 15 different occasions and collected a total of 135 plastics.  Ninety of these are classified as micro-plastics (> 5 mm).    

To view a spreadsheet of the beaches I visited and the amount of micro-plastics I found in each of my samples click here.  Within the document you can find links to photos of the beaches and a link to the website I got the low and high tide data from.

Research Questions

We learned that starting a research projects creates more questions than answers.

Where is the best place to collect samples?
We chose to concentrate on Stonewall Beach because we saw a lot of plastics on the rocks and in the tidelines. We were wondering if that because Stonewall Beach has large amount of rocks on it and they could cause larger pieces of plastic to be ground down.  To read more about Stonewall Beach click here.
While completing this project we were trying to figure out the best spots to collect our sand samples.  We wanted to collect sand from parts of the beach that seemed like they had plastics. We also discovered that if you come at low tide, you can see a line of washed up seaweed that contain plastics.  
We were also wondering if digging down in the sand would be a good idea along with collecting plastics from the top.


How much should we collect?
We were wondering how much to collect, how many samples, and how far apart the samples should be. Should we concentrate on one beach or collect samples for lots of beaches?  Was a gallon bag of sand really a big enough sample?
What is the best method for collecting samples?
We were wondering if taking the sand from the beach wasn't such a great idea and if we should return as much as we can.  
When is the best time to collect samples?
We were wondering how the tides times changed what we found.  We were wondering if low tide was a better time to find microplastics.  We noticed that when it was low tide you could normally see a tide line and in the tide line there would be a substantial amount of small plastics.
·         How does tide affect the micro plastics present in the top sand?
·         How do storms affect the micro plastics present in the top sand?
What the best method to find plastic in the sand samples?
We noticed that wet sand sticks together and doesn't go through the sieve, so we tried a number of different techniques.  The first we tried to use the power of the ocean to push the sand through the pvc sieves.  This worked well, but you lost some of your sample and it was time consuming.  For a more in depth description of this technique click here.  The second and best technique we used was to use a hose to wash the sand through the larger sieves.  To watch a video of this technique click here.  Even so, the hose technique did not work for the 0.3 mm sieve.  Another technique we tested was to dry the sand that was >1 mm to see if that would help us sift it through the 0.3 mm sieve. This was suggested by my technology and science teacher, Mrs.Ostertag. To learn more about this technique click here.  We still struggled to sift most of the sand through leaving us with too large of a sample size to locate microplastics.  The last technique we tried we called the buoyancy technique.  To learn about this technique click here.  
We were also wondering if we should purchase or make a sieve in between the 1mm and .3mm.
Another issue we ran into was our 1 mm and 0.3 mm sieves often got jammed with sand that was slightly larger than the mesh size and we spent lots of time cleaning it out.  We think it would be a good investment to purchase a sieve brush or maybe a metal grill brush would work.    

Back to Woods Hole Oceanographic Institution

It was time to visit WHOI for the second time, so my mom and I got on the ferry. We were going to show the scientists the micro-plastic samples we had collected.  We met up with Anna, Stacey, Beckett, and Kelly at a restaurant called Captain Kidd.  At the restaurant I told them about where, what, and how I found my samples. I then showed them the samples I had collected and told them the different techniques I came up with to collect the samples, such as using a hose to wash the sand through, and using the power of the ocean to wash the sand through the sieves. Then I showed them my other blog posts. You can learn more about this by clicking here. I also showed them the spreadsheet Amanda and I set up.

This is the device Beckett will use to study the micro-plastics I collected.
We then walked to a research building called "Blake.”  When we got there, we went to a conference room where Stacey gave a presentation about her program called the Sturgis ROVers.  To learn more about this group click here.  After the talk was over, we went on a tour of the lab. First we saw a large ROV named Sentry, which you can learn more about by clicking here. Sentry is an ROV than can reach depths of 6,000 meters (19,685 feet)! Sentry was getting a maintenance tune up while we were there.  


Afterwards, went into a room where WHOI Engineers and Scientists were building smaller ROVs and devices to mount inside of them.  One device was a 3D printed multi-battery pack holder, which is extremely light and enables the ROV to stay under longer by saving weight and adding extended power.


Battery pack holder that was 3D printed

Then, we decided to do a small experiment with Becket and Stacey in which we tried to figure out if the small beads in Dove Bodywash were microplastic or something else, such as gel beads.  We used water to flush the body wash through 1 mm and 0.3 mm mesh sieves.  The results were unexpected.  I suspected that there would be approximately 15-20 microbeads in the few splotches of Dove we put on the sieves, but I was wrong.  We were stunned to see over 100 microbeads.  After doing the experiment, Stacey thought that it would be a great idea to use this experiment as an educational tool for the students attending her camp.  


Then we went back to the conference room and watched parts of a movie about students from SEA's marine educational programs (Sea Education Association) who were studying microplastics from a vessel out at sea. Then a SEA research director met with us to compare notes about microplastics research and to give some input to Becket about his plan to design a microplastics detector.  I enjoyed learning about all the different types of plastic and their different properties, such as whether they float or sink.  

I loved working with these researchers over the summer and became much more aware about the effects of plastics and how even smallest pieces of plastic litter can cause harm to the environment. I also learned that written instructions don't always work in the field and that you have to improvise to get the best results.  I am looking forward to coming to WHOI next year and hopefully my research and samples will be helpful to the scientists and Stacey Strong's students.

Additional Reading

Here are three article about micro-plastics sent to me by my blog readers that I wanted to pass along for further reading.  

https://theconversation.com/the-oceans-are-full-of-plastic-but-why-do-seabirds-eat-it-68110

https://theconversation.com/far-more-microplastics-floating-in-oceans-than-thought-51974